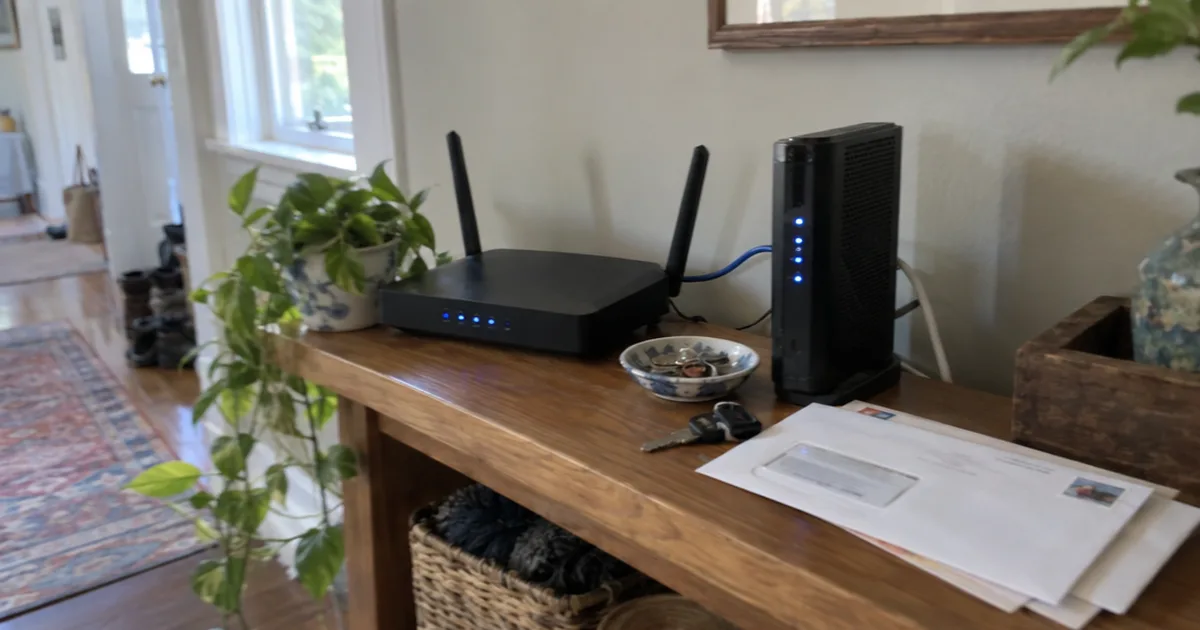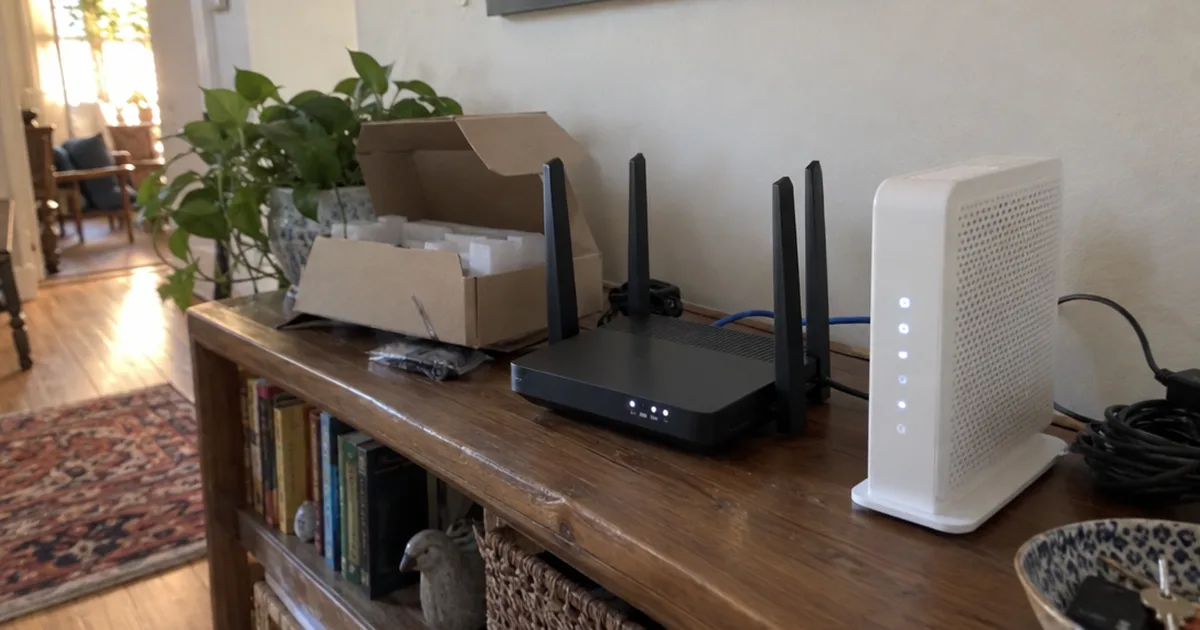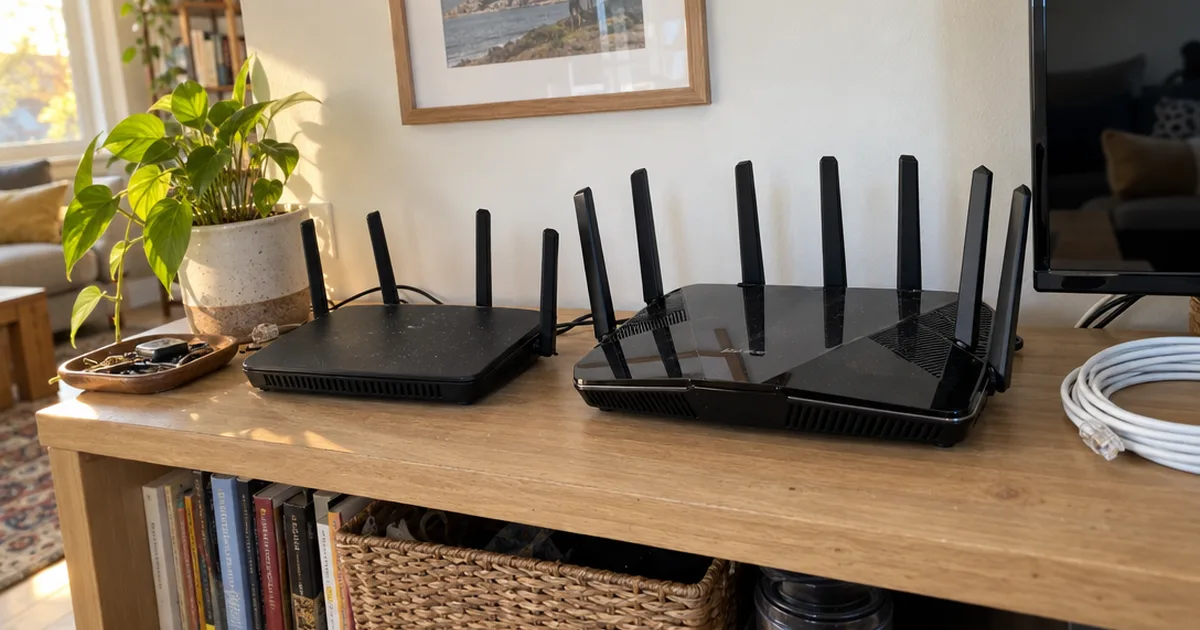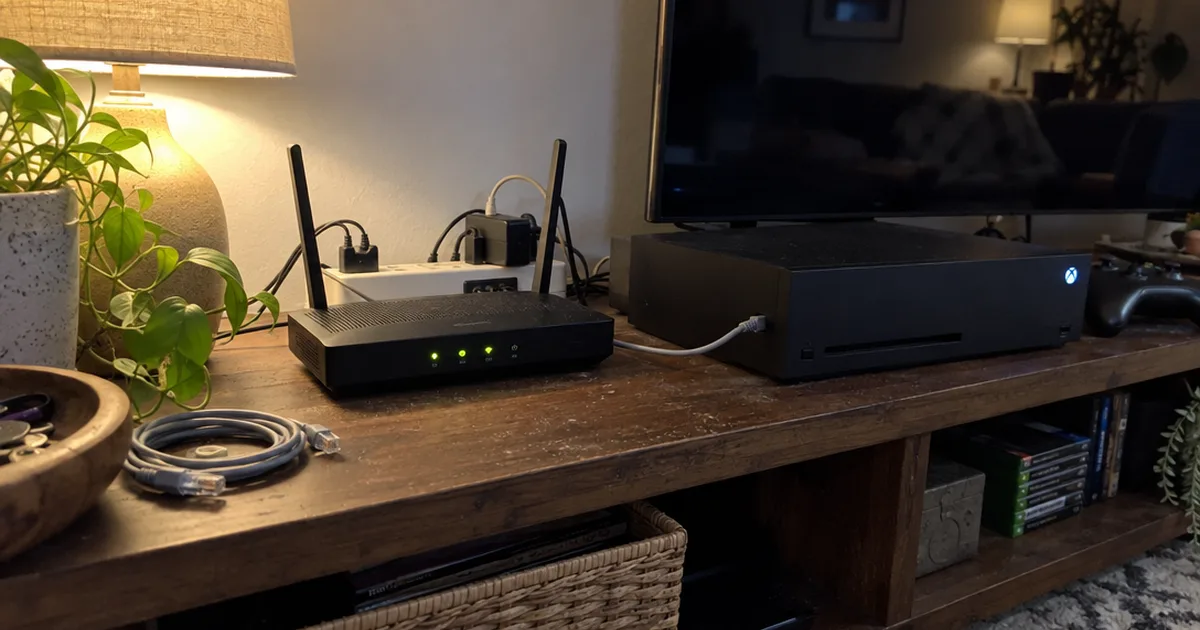

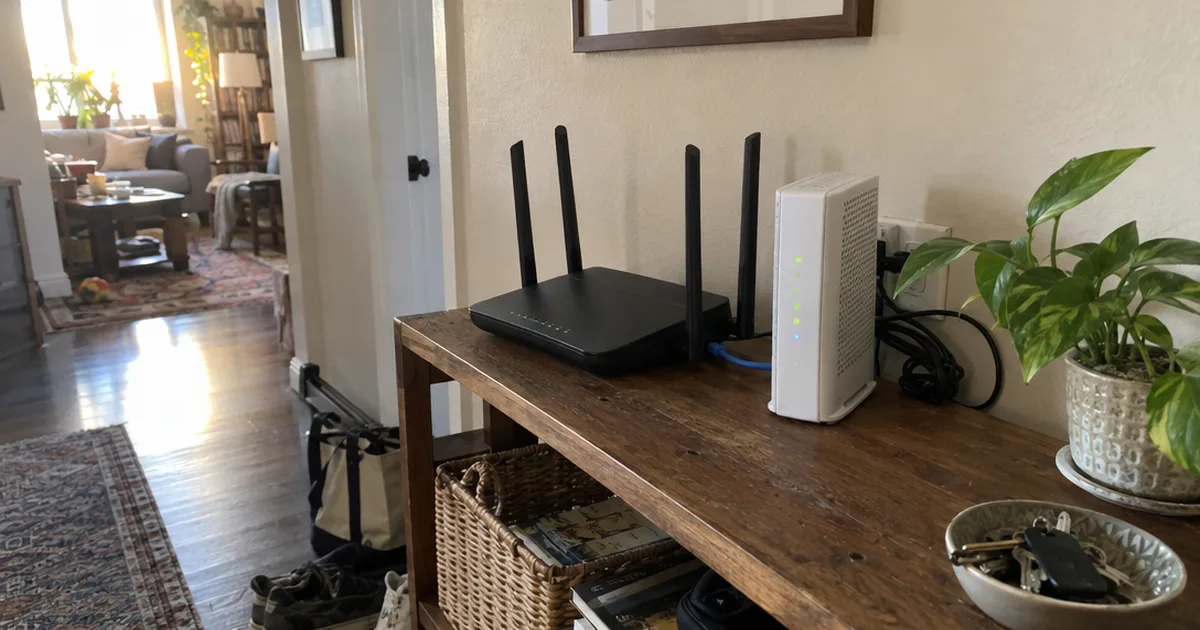
There are 14 router settings worth checking, and 2 of them should be switched off.
That’s according to Apple’s router guide, published July 14, 2026: hiding your network name and MAC address filtering both belong on Disabled.
But you can’t fix any of them until you get into your router settings. The top Google result for this search is a Reddit thread asking how to do exactly that.
So here’s how to log in from any browser or phone app in 6 steps, then the value to pick for each setting that matters.
Best for: anyone with their own router who wants to change the Wi-Fi name, password, security or speed settings. Skip it if your internet provider locks the box and handles changes for you.
Cost: Free.
Time: Same day.
First step: Flip your router over and take a photo of the label with its login address and admin password.
How to Access Your Router Settings Step by Step
To access your router settings, connect to the router’s network, find its IP address, type that address into a web browser and sign in with the admin username and password. Those 4 moves work on almost every home router, and the 2 steps after them keep your changes safe.
If the router is brand new and not online yet, configure the router step by step first, because everything below assumes it already works.
Step 1: Connect to the Router’s Network
Join the router’s Wi-Fi network, or plug your computer into one of its LAN ports with an Ethernet cable.
You must be connected to the router itself, because the settings page is private and doesn’t load from the internet.
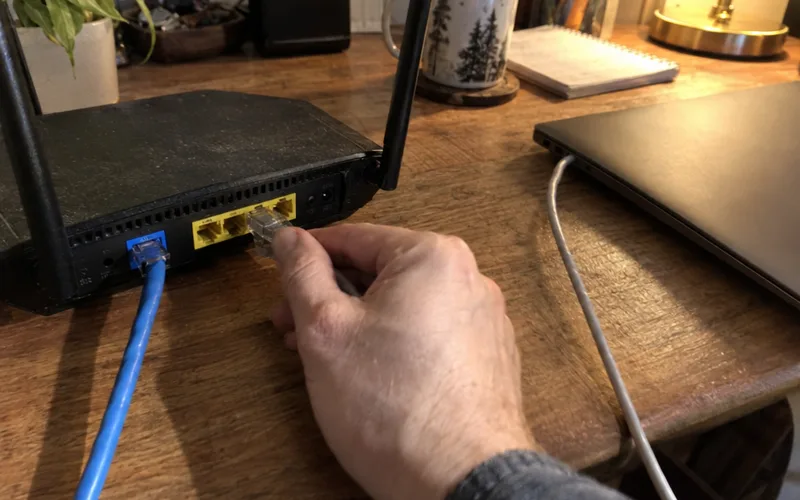
A cable is the steadier choice for changes. Saving new Wi-Fi settings can drop a wireless connection for a moment, and then you’re locked out until you reconnect.
Step 2: Find Your Router’s IP Address
The router’s IP address is usually printed on its label, next to the default Wi-Fi name and passwords.
Most home routers use 192.168.1.1, 192.168.0.1 or 10.0.0.1. Some makers print a web address instead, such as tplinkwifi.net on TP-Link routers or routerlogin.net on NETGEAR.
No label? Your computer already knows the address, listed as the router or the Default Gateway in its network details.
The table in the next section shows where to look on each device.
Step 3: Type the Address Into a Web Browser
Open Chrome, Safari, Edge or any other web browser and type the IP address straight into the address bar, then press Enter.
Don’t type it into a search box. A search engine won’t take you to your router, it’ll just show you pages about the number.
A browser warning that the connection isn’t private can be normal on a router login page. The page lives inside your home, so it has no public security certificate.
Step 4: Log In With the Admin Username and Password
Enter the router’s admin username and password, the login credentials that guard its settings.
On many routers the default username is admin and the default password is printed on the label. Newer routers make you create your own admin credentials during setup, so check your notes before you try the label.
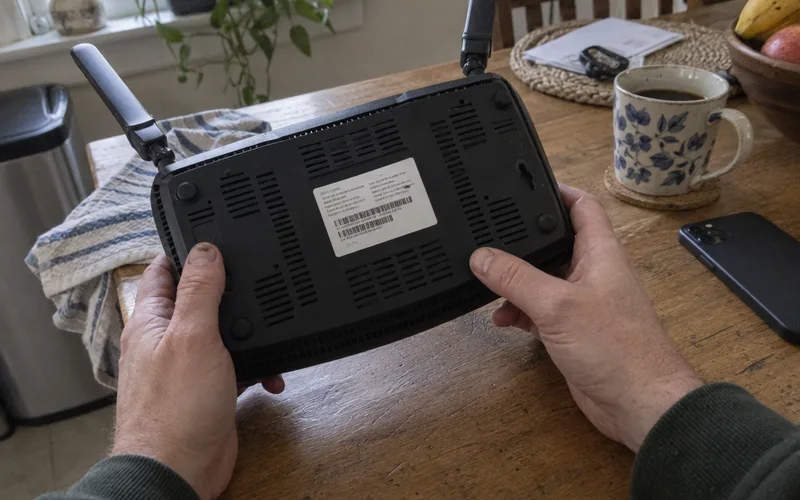
Here’s the deal:
The admin password and the Wi-Fi password are 2 different things. One opens the settings page, the other lets devices join the Wi-Fi network, and mixing them up is a common reason a login fails.
On a TP-Link model, the label’s login may not be the one it asks for, so check which TP-Link router password it wants.
Step 5: Back Up Your Current Settings
Before you change anything, save a copy of your current setup. Apple Support’s router guide says to back up your router’s existing settings in case you need to restore them.
Look for Backup, Save Configuration or Backup and Restore, usually under Administration, System or Advanced. It downloads one small file to your computer.
That file is your undo button. If a change breaks your internet, you restore it instead of starting from scratch.
Step 6: Change a Setting and Save It
Open the menu that holds the setting, change it, then click Save or Apply.
Many routers restart to apply the change. Give it a few minutes, then reconnect.
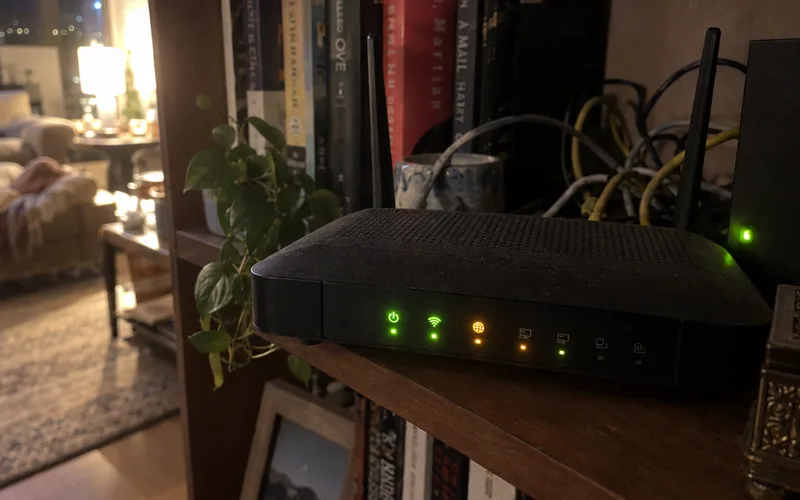
Changed the Wi-Fi name or password? Each phone and laptop may need to forget the old Wi-Fi and join it again with the new details.
How to Find Your Router’s IP Address on Any Device
Your router’s IP address is shown as the Default Gateway or Router entry in the network details of any device connected to it. Here’s where to look on each one:
| Device | Where to find it |
|---|---|
| Windows | Command Prompt, type ipconfig, read Default Gateway |
| Mac | System Settings, Wi-Fi, Details, TCP/IP, Router |
| iPhone or iPad | Settings, Wi-Fi, tap the i icon, Router |
| Android | Settings, Wi-Fi, tap your network, Gateway |
On Windows 10 and Windows 11 you can also skip the command line. Open Settings, then Network & internet, and the hardware and connection properties page lists the same Default Gateway address.
On a Mac, TCP/IP is the tab that shows your addresses. The number next to Router is the one you type into the browser.
Note: every router has 2 IP addresses. Your internet provider gives the router a public one, but you always log in with the private one your devices see.
How to Access Router Settings From Your Phone
You can access router settings from your phone through the router maker’s app, which shows the most-used settings on one dashboard. Mesh systems are usually managed through their app, and some can’t be set up without it.
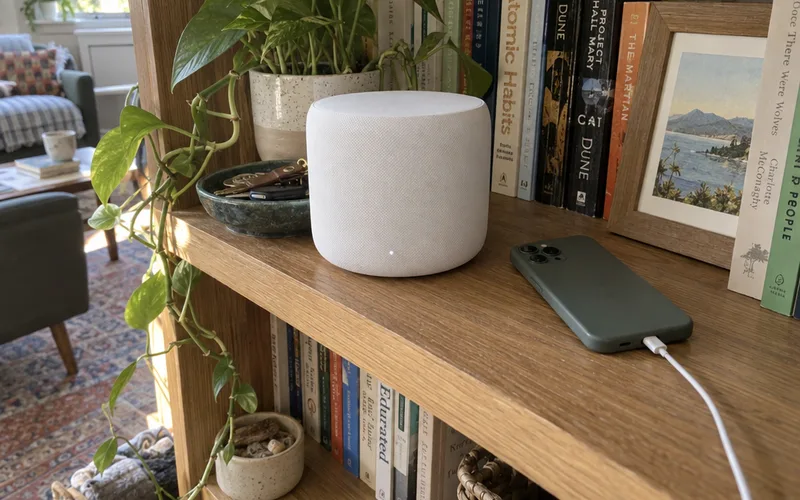
The ASUS Router app, for example, sets up an ASUS router or ZenWiFi system in 3 steps, according to ASUS. You can also do the same ASUS router setup in a browser if you’d rather skip the app.
Other big brands work the same way:
- Linksys: the Linksys app, whose Advanced Settings cover internet, port and local network settings
- TP-Link: the Tether app for routers and the Deco app for its mesh systems
- NETGEAR: the Nighthawk app, or the Orbi app for Orbi mesh
- eero and Google Nest Wifi: the eero app and the Google Home app
The catch is that apps rarely show every setting. If you can’t find an option in the app, the browser method above usually has it.
If you have a mesh Wi-Fi system, stick with its app. That’s where its node and backhaul settings live.
Which Router Settings Should You Change First?
The router settings to change first are the admin password, the Wi-Fi security mode, the Wi-Fi name and password, and automatic firmware updates. Apple Support’s router guide gives a value for each setting it checks, and this table shows the ones that matter at home:
| Setting | What to pick |
|---|---|
| Security | WPA3 Personal |
| Network name (SSID) | One unique name for all bands |
| Hidden network | Disabled |
| MAC address filtering | Disabled |
| Automatic firmware updates | Enabled |
| Channel | Auto |
| Channel width | 20 MHz on 2.4 GHz, Auto on 5 and 6 GHz |
| DHCP lease time | 8 hours at home |
| NAT | Enabled on one device only |
| WMM | Enabled |
You don’t have to change every row. Check each one against your router, and use the sections below for the settings that need more than a toggle.
Admin Password
Change the admin password first, because anyone on your Wi-Fi who knows the default password can open your settings and change them.
Look under Administration, System or Security for an option called Change Password or Router Password. Use a long password that’s different from your Wi-Fi password, and save both sets of credentials in a password manager.
Wi-Fi Name and Password
Give your Wi-Fi one name for every band. The same guide says to use a single, unique name for 2.4 GHz, 5 GHz and 6 GHz, because split names can stop devices from connecting reliably.
Skip default names such as linksys or netgear too. Devices can mistake a neighbor’s Wi-Fi with the same name for yours.
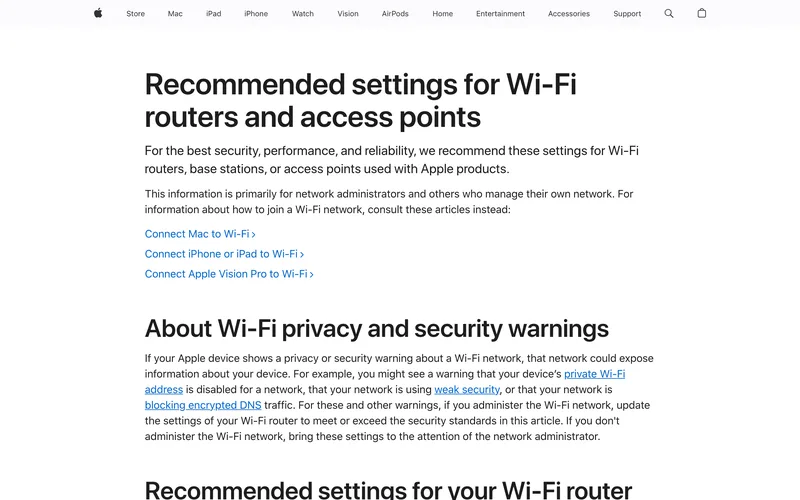
The Wi-Fi password change itself happens in the Wireless or Wi-Fi menu, right next to the network name.
Lost the current one? You can view the Wi-Fi password in Windows 11 on any laptop that’s still connected, or follow the fixes for when you forgot your Wi-Fi password.
Wi-Fi Security Mode
Set your router’s security to WPA3 Personal. Apple Support recommends WPA3 Personal for better security, or WPA2/WPA3 Transitional when older devices can’t connect with WPA3.
WPA3 Personal works with every device that supports Wi-Fi 6 and some older ones. If neither WPA3 option works for you, WPA2 Personal with AES encryption is the fallback.
Avoid WEP, WPA Personal, anything with TKIP in the name and the mixed WPA/WPA2 modes. Those older modes are no longer secure and can drag down reliability and speed, as the Wi-Fi security guide explains.
Firmware Updates
Turn on automatic firmware updates if your router offers them. That router guide recommends setting it to install firmware updates automatically as they become available.
Firmware is the router’s built-in software, and updates fix security holes and stability problems. They can also change which security settings your router offers.
No automatic option? Check for updates by hand under Administration or Firmware Upgrade every few months.
Some routers can even run open-source firmware such as OpenWrt, which adds features like OpenWrt ad blocking for every device at once.
Channel and Channel Width
Leave the channel on Auto and the router picks the best one for you. For channel width, the same guide recommends 20 MHz on the 2.4 GHz band and Auto or all widths on 5 GHz and 6 GHz.
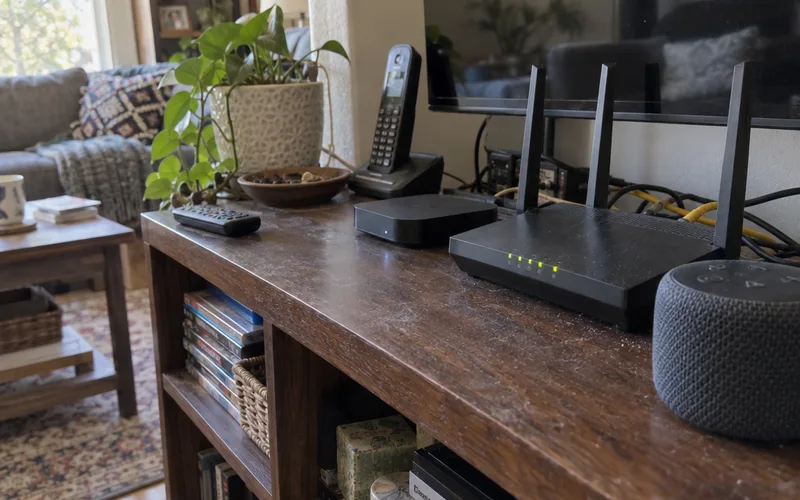
Why so narrow on 2.4 GHz? Wider channels are faster, but that band is crowded with neighbors’ networks and Bluetooth devices, so 20 MHz is the more reliable choice.
On 5 GHz, a wider Wi-Fi channel width is worth trying when few neighbors share your channels.
DNS Server
Most routers use your internet provider’s DNS server, which turns web addresses into IP addresses. You can keep it, or type in a different primary and secondary server, and every device in your home will use it.
Public DNS servers are worth a look if you want faster or filtered lookups.
Should You Hide Your Wi-Fi Network?
No, hiding your Wi-Fi network name doesn’t make it safer. Apple Support says hiding the network name doesn’t conceal the network from detection or secure it against unauthorized access.
In fact, a hidden network can hurt your privacy. Because of how devices search for a hidden name, they might expose details that identify you and your home.
MAC address filtering fails for a similar reason. MAC addresses can easily be copied, spoofed or changed, so a filter list doesn’t keep a determined intruder out.
So leave both features off and let your security mode and password do the work.
Router Settings for Guests, Kids and Gaming
The router settings for guests, kids and gaming are the guest network, parental controls, QoS and port forwarding, each in its own menu of the router’s web page or app. Set them up after the security basics.
Guest Network
A guest network gives visitors internet access on a separate name and password, so they never see the devices on your main network.
Turn it on under Guest Network or Guest Wi-Fi, then keep the option that blocks access to your local network switched on. That isolation is the setting that matters most in any guest Wi-Fi setup.
Parental Controls
Parental controls let you block websites, pause the internet for a device or set screen-time schedules.
ASUS lists free parental controls in its router app, with content filtering and screen-time schedules for each device. Setting up ASUS router parental controls means creating a profile for each child and assigning their devices.
On other brands, you can still control internet access at home with router schedules and device blocking.
Gaming and Lag
Gaming settings mostly come down to QoS, which tells the router which devices get bandwidth first, plus port forwarding for some consoles.
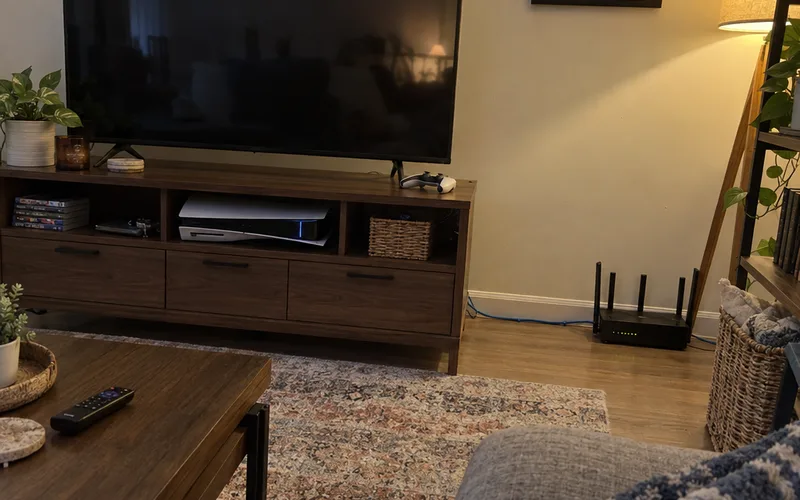
Turn on QoS and give your console or PC top priority, then fine-tune the other best router settings for gaming. A new router needs its own gaming router setup, and lag that survives both has other ways to reduce ping.
Port Forwarding
Port forwarding sends incoming traffic on a chosen port to one device, such as a game server or a security camera recorder.
It lives under Advanced, NAT or Virtual Server. Only open the ports you need, and read how port forwarding works before you open one to the internet.
How to Access ISP Gateway Settings
ISP gateway settings, on a Verizon, Xfinity or other internet provider’s router, open the same way: browser plus IP address, or the provider’s own app. The admin password is usually printed on the gateway’s label, separate from its Wi-Fi password.
Have the provider’s gateway and your own router plugged in together? Then 2 devices may both be routing your traffic.
Only one of them should handle NAT, the job of sharing one public address with all your devices. When both do it, you get double NAT, and the fixes are bridge mode on the gateway or one of the other ways to fix double NAT.
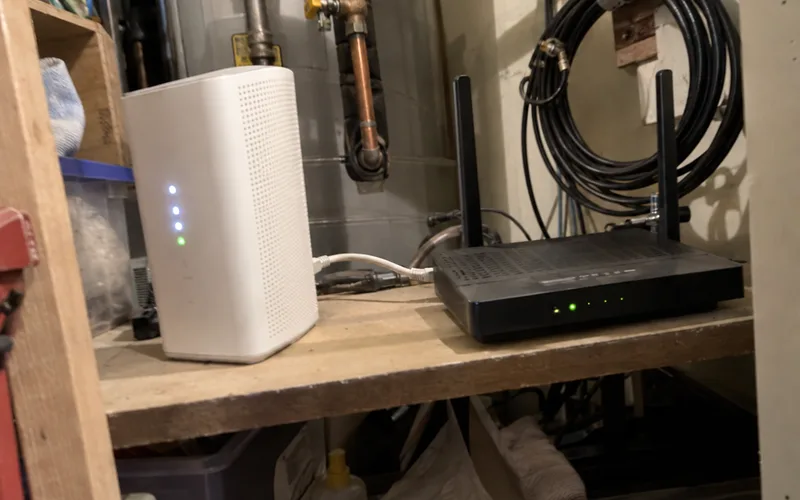
Bridge mode isn’t permanent: you can turn off bridge mode in the gateway’s settings if you remove your own router later.
Fiber gateways that carry TV may also have an IPTV setting, and whether to leave IPTV VLAN on or off depends on your TV service.
No cable between your router and the gateway? Here’s how to connect a router to the internet wirelessly.
Can’t Get Into Your Router Settings?
When the router settings page won’t load or won’t accept your password, the cause is usually the wrong IP address, the wrong network or the wrong password. Work through these checks in order:
- Confirm you’re on the router’s network, not a phone hotspot or a neighbor’s Wi-Fi.
- Check the Default Gateway again, in case your router uses a different address.
- Try another browser, or a private window, to rule out a cached page.
- Plug in with an Ethernet cable if Wi-Fi keeps dropping.
- Restart the router and try again after it boots.
Still locked out? A factory reset is the last resort.
Press and hold the recessed reset button with a paperclip until the lights change, and the router goes back to the login printed on its label.
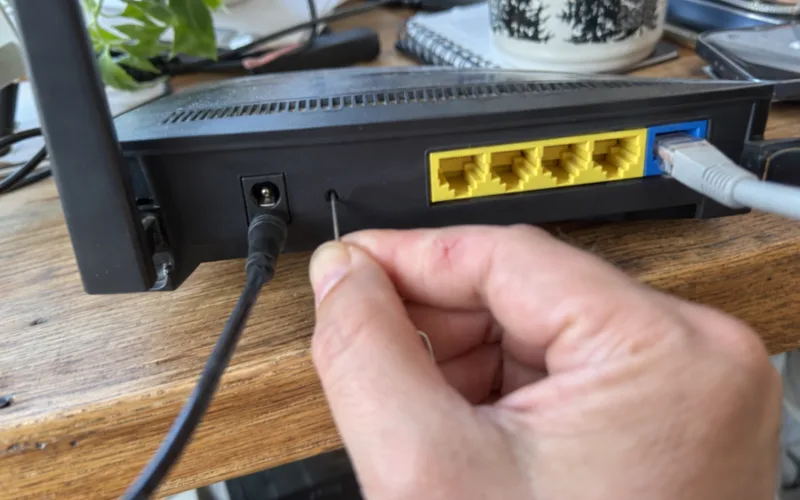
Resetting erases every setting, so restore your backup file afterward if you made one. How long you hold the button varies by brand, as the steps to reset a TP-Link router show.
Settings only go so far, though, and the rest comes down to choosing and placing your router well.
Frequently Asked Questions
What if I forgot my router password?
A forgotten router admin password is fixed by checking the label for the default first, then doing a factory reset with the recessed reset button if the default no longer works. Resetting erases every setting, so you’ll set up the Wi-Fi name, Wi-Fi password and admin login again afterward.
How do I access wireless settings?
Router wireless settings sit under a menu called Wireless, Wi-Fi or WLAN once you log in to the router’s web page or app. That’s where you change the Wi-Fi name, the Wi-Fi password, the security mode and the channel for each band.
Can you access router settings wirelessly?
Yes, you can access router settings wirelessly from any phone or computer joined to the router’s Wi-Fi network. An Ethernet cable is steadier while you change Wi-Fi settings, because saving them can drop your wireless connection for a moment.
What is port forwarding on a router?
Port forwarding is a router setting that sends incoming internet traffic on a chosen port to one device on your home network, such as a game console or a home server. You set it up in the router’s settings, usually under Advanced, NAT or Virtual Server.
How do I set up a guest network?
A guest network is set up in the router’s settings or app under a menu named Guest Network, Guest Wi-Fi or Guest Access. Turn it on, give it its own name and password, and keep the option that blocks guests from your main network switched on.
Final Thoughts
The router settings that matter most are the admin password, the Wi-Fi security mode and automatic firmware updates.
Tonight, log in, back up your settings, and fix those 3 before you touch anything else.